WebApp
This guide explains how you can use the web app to create transformations. To get it running follow the steps in Getting Started.
The start page
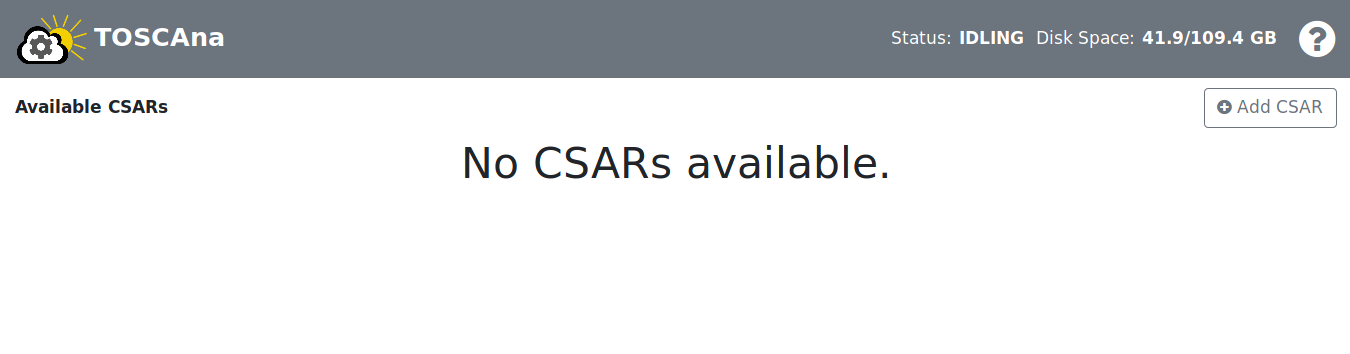 The start page without any CSARs
This page shows the default state of the app if no CSARs were added previously.
The top bar
 The topbar
Status: The status shows the current state of the TOSCAna transformer, idling means he has nothing to do. If he is processing a transformation the status is TRANSFORMING.
Disk Space: Disk space shows how much server disk space is left.
CSARs
How to add a CSAR
1. Step: Click on the  button.
After clicking on the button the app should look like in the image below.
button.
After clicking on the button the app should look like in the image below.

2. Step: Enter a name. If you leave the name empty and directly go to Step 3 the name is automatically filled in. If the name is a duplicate or something else is wrong the input field and the display indicator will be red. Hovering over the indicator will show the reason why the name is wrong.
3. Step: Click on the Select file button to upload a CSAR.
4. Step: Submit the CSAR.
How to view a CSAR
To view a CSAR click on it in the sidebar. After clicking, the web app should look similar to the image below. The current selected CSAR is highlighted blue in the sidebar.
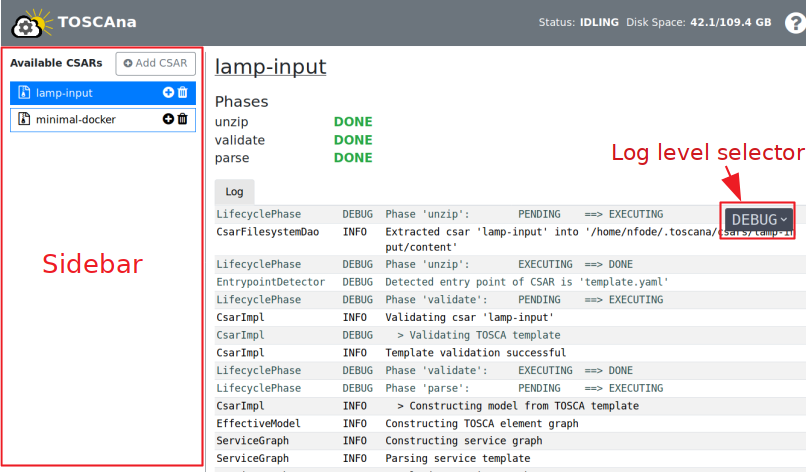
CSAR view for the lamp-input CSAR
Phases: For each processing phase, the web app shows its status.
Log: If something went wrong you might want to check the server logs on the bottom right of the screen.
With the log level selector you can filter unwanted log levels.
How to delete a CSAR
To delete a CSAR click on the trash bin next to the CSAR name in the sidebar.

Transformations
How to add a transformation
Step 1: Click on the + button at the CSAR which you want to create a transformation for.
![]()
Step 2: Select a platform from the list shown below.
![]()
Pick a platform
If a transformation for this platform already exists the web app will ask you if you want to overwrite it.
Step 3: Enter the required inputs
![]()
The web asks your for inputs which are needed to transform the CSAR. If a input field is highlighted red it means that it is required or that it is wrong. To get more information about an specific input you can hover over the info icon.
Important: To get more information about the inputs check the documentation of the corresponding platform you want to transform to.
Step 4: Click on the Transform button.
If you can not click the button something in Step 3 went wrong.
After clicking on the button the transformation view becomes visible. To learn more about the transformation view just keep scrolling.
How to view a transformation
In the sidebar click on the CSAR and then on the transformation you want to look at. After doing this the web app should look similar to the image below. Also notice the selected transformation is highlighted orange in the sidebar.
Phases: The web app shows each transformation phases state.
Log: If something went wrong you might want to check the server logs in the lower part of the web app.
With the log level selector you can filter unwanted log levels.
![]()
The transformation view looks very similar to the CSAR view but additionally there are two download buttons and the input and output tabs.
Inputs: If you click on the inputs tab you can see the values you entered for the inputs while you created a transformation.
Outputs: The outputs tab shows the outputs defined in the service template of the CSAR.
Not every plugin can produce outputs so the values might be empty.
Download artifact: The Download artifact button provides the download of the whole artifact created during the transformation.
Download run script: The Download run script button provides a script that downloads the artifact, unzips it and starts the deployment.
It can be run like that: bash run.sh.
How to delete a transformation
To delete a transformation just click on the trash bin next to the transformation name in the sidebar.
![]()
Click on the trash bin on the Kubernetes transformation to delete it